ALL PRODUCTS
- Solar Panel
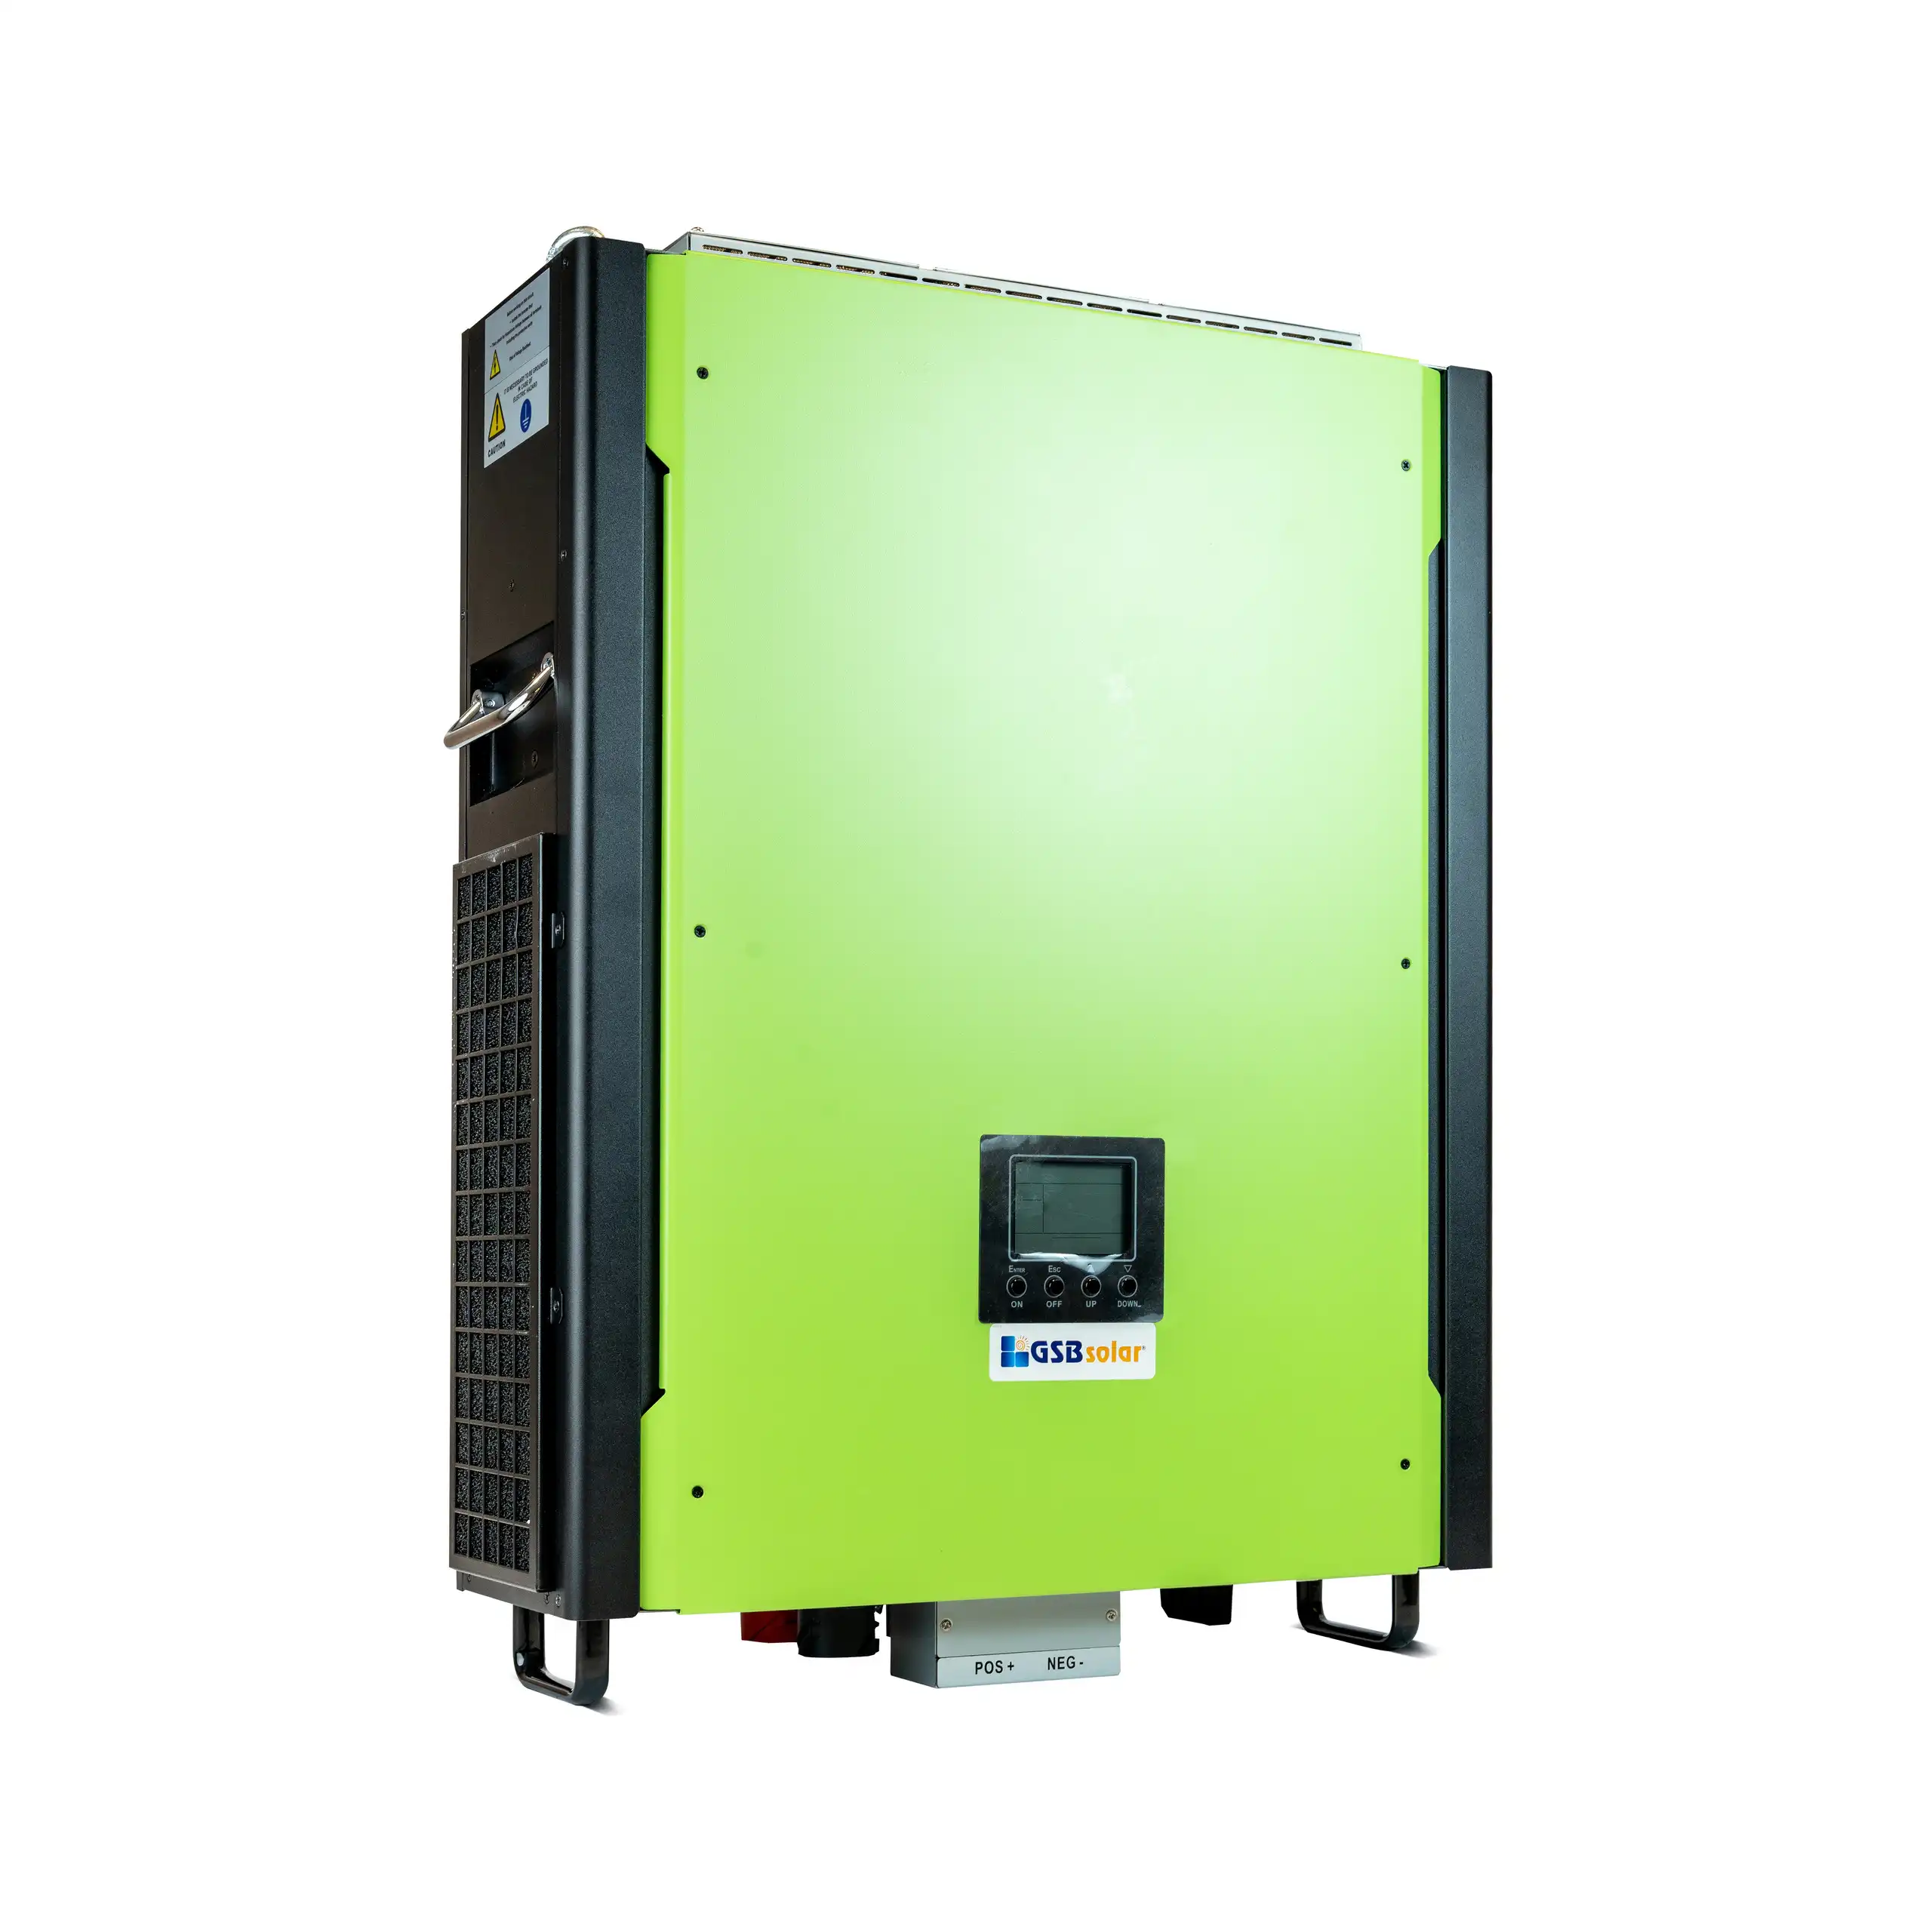
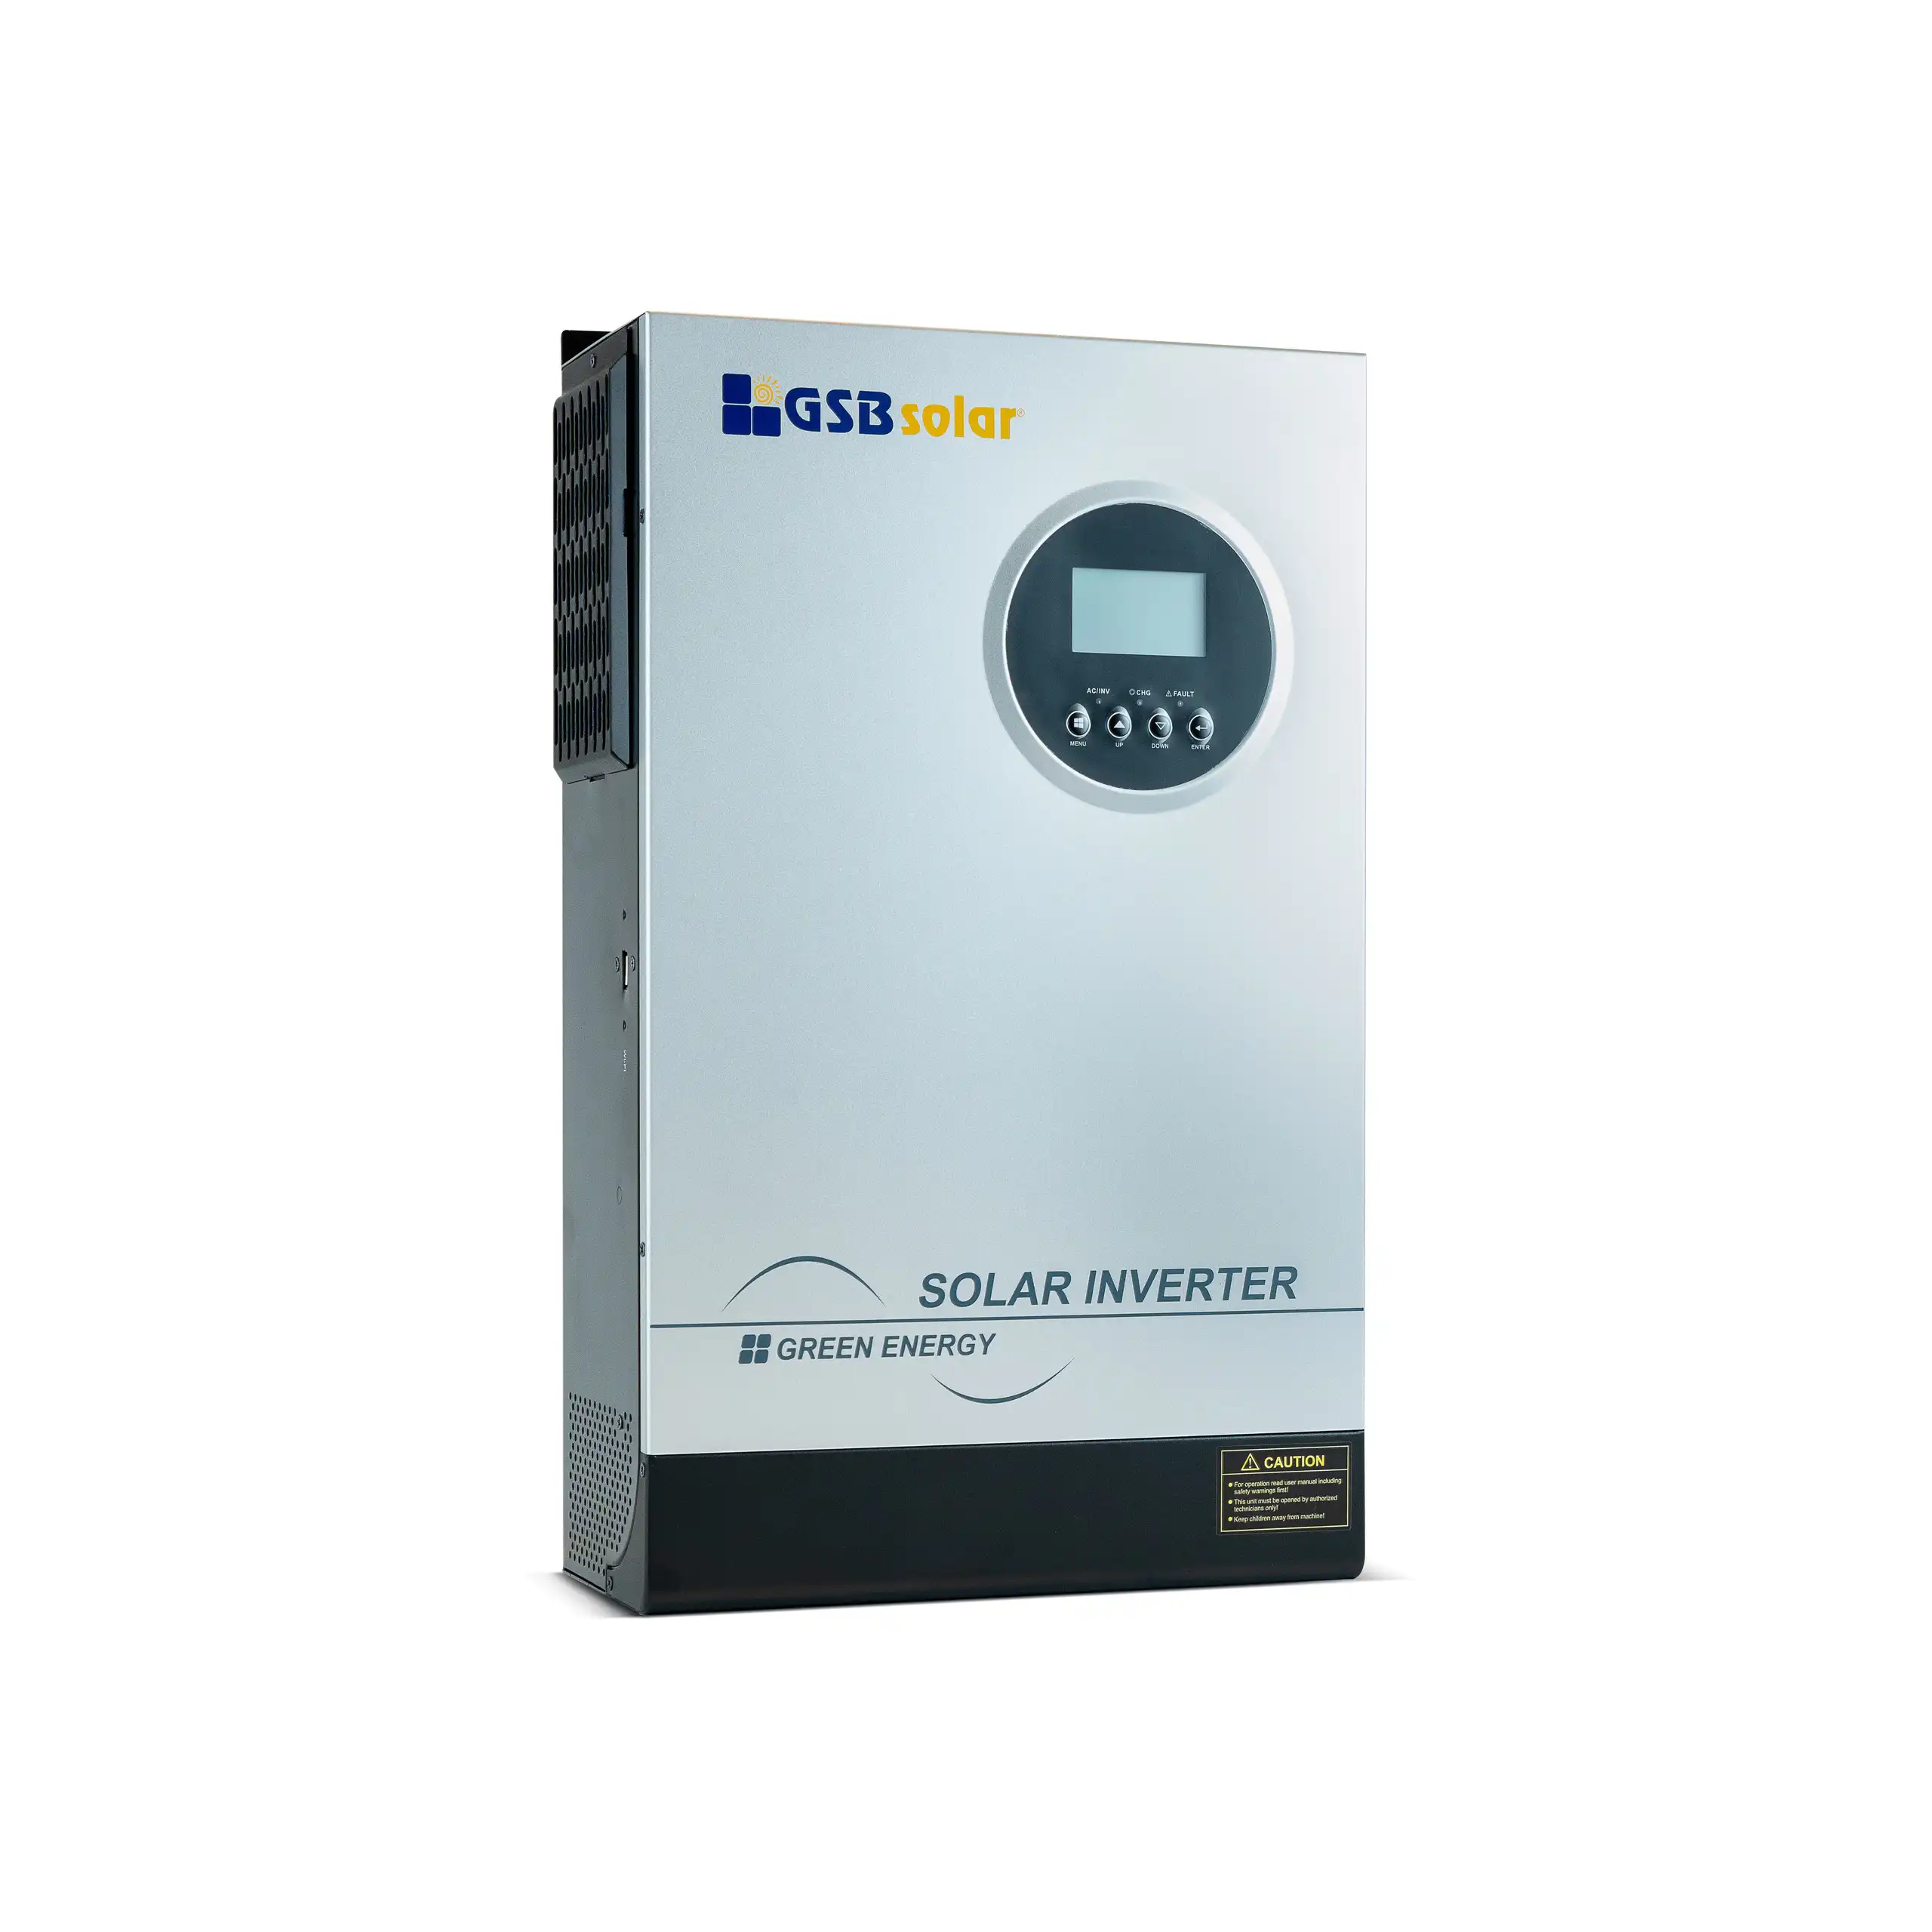
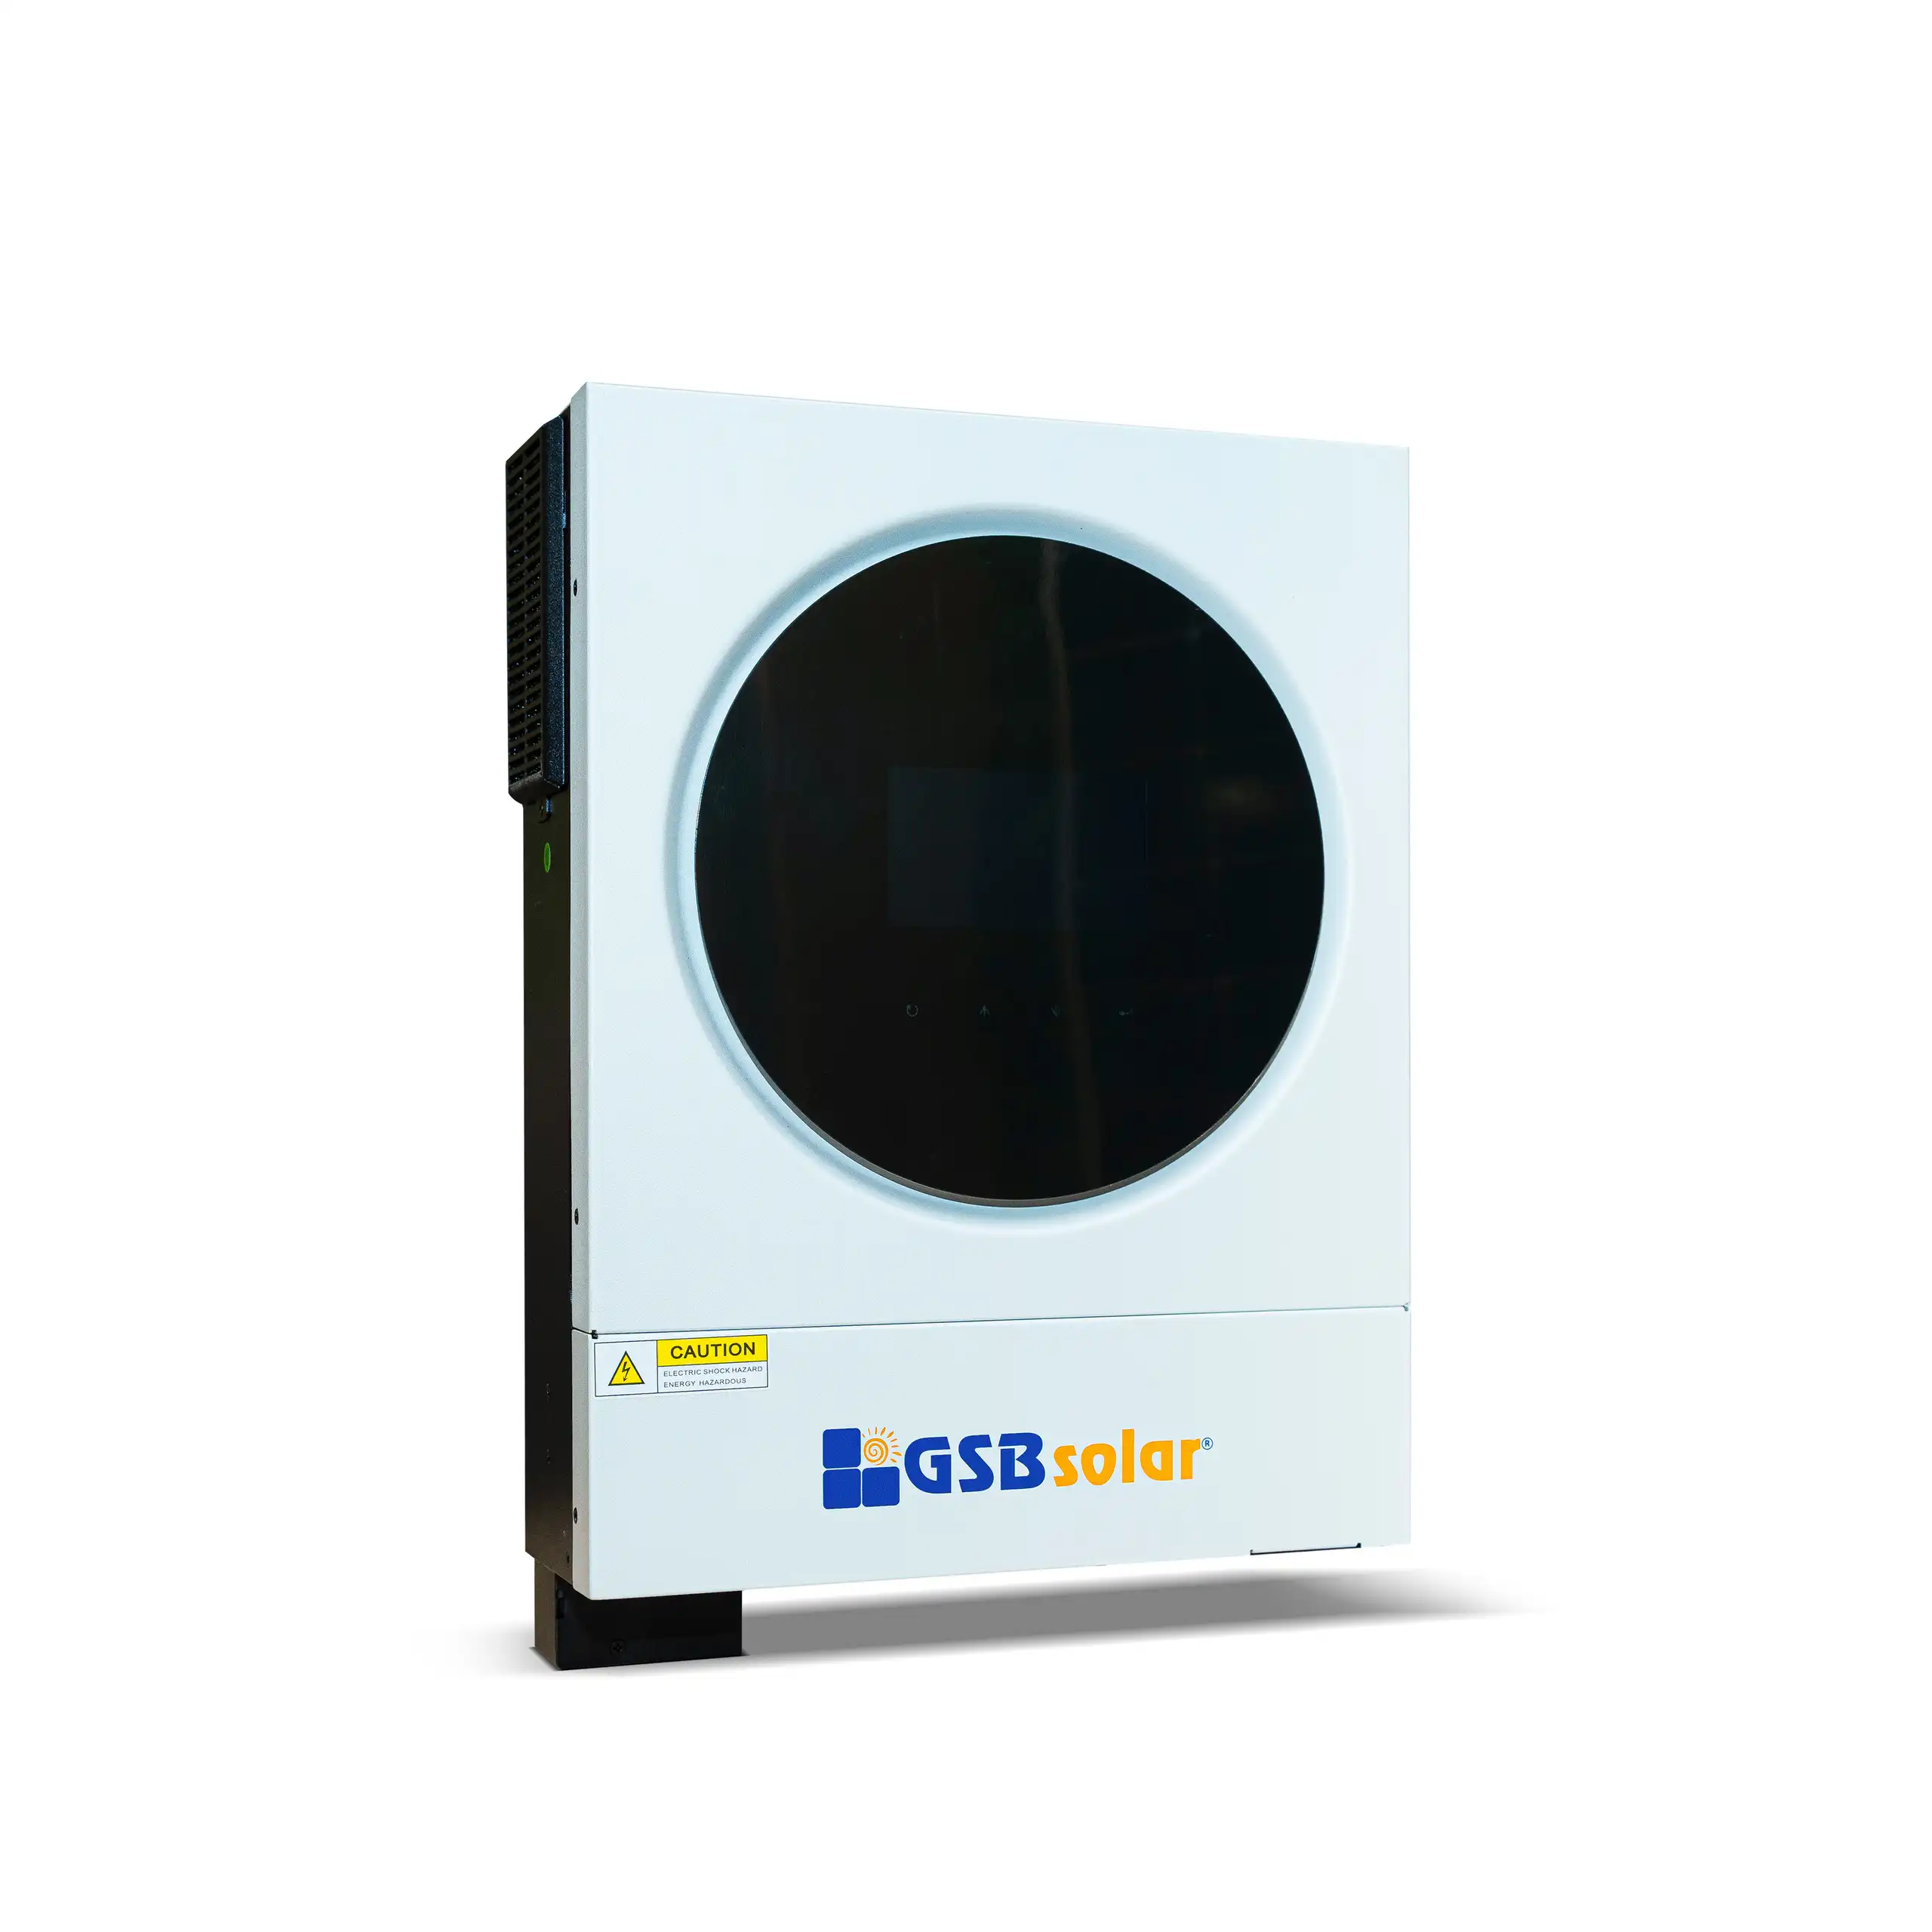
- Hybrid Inverter
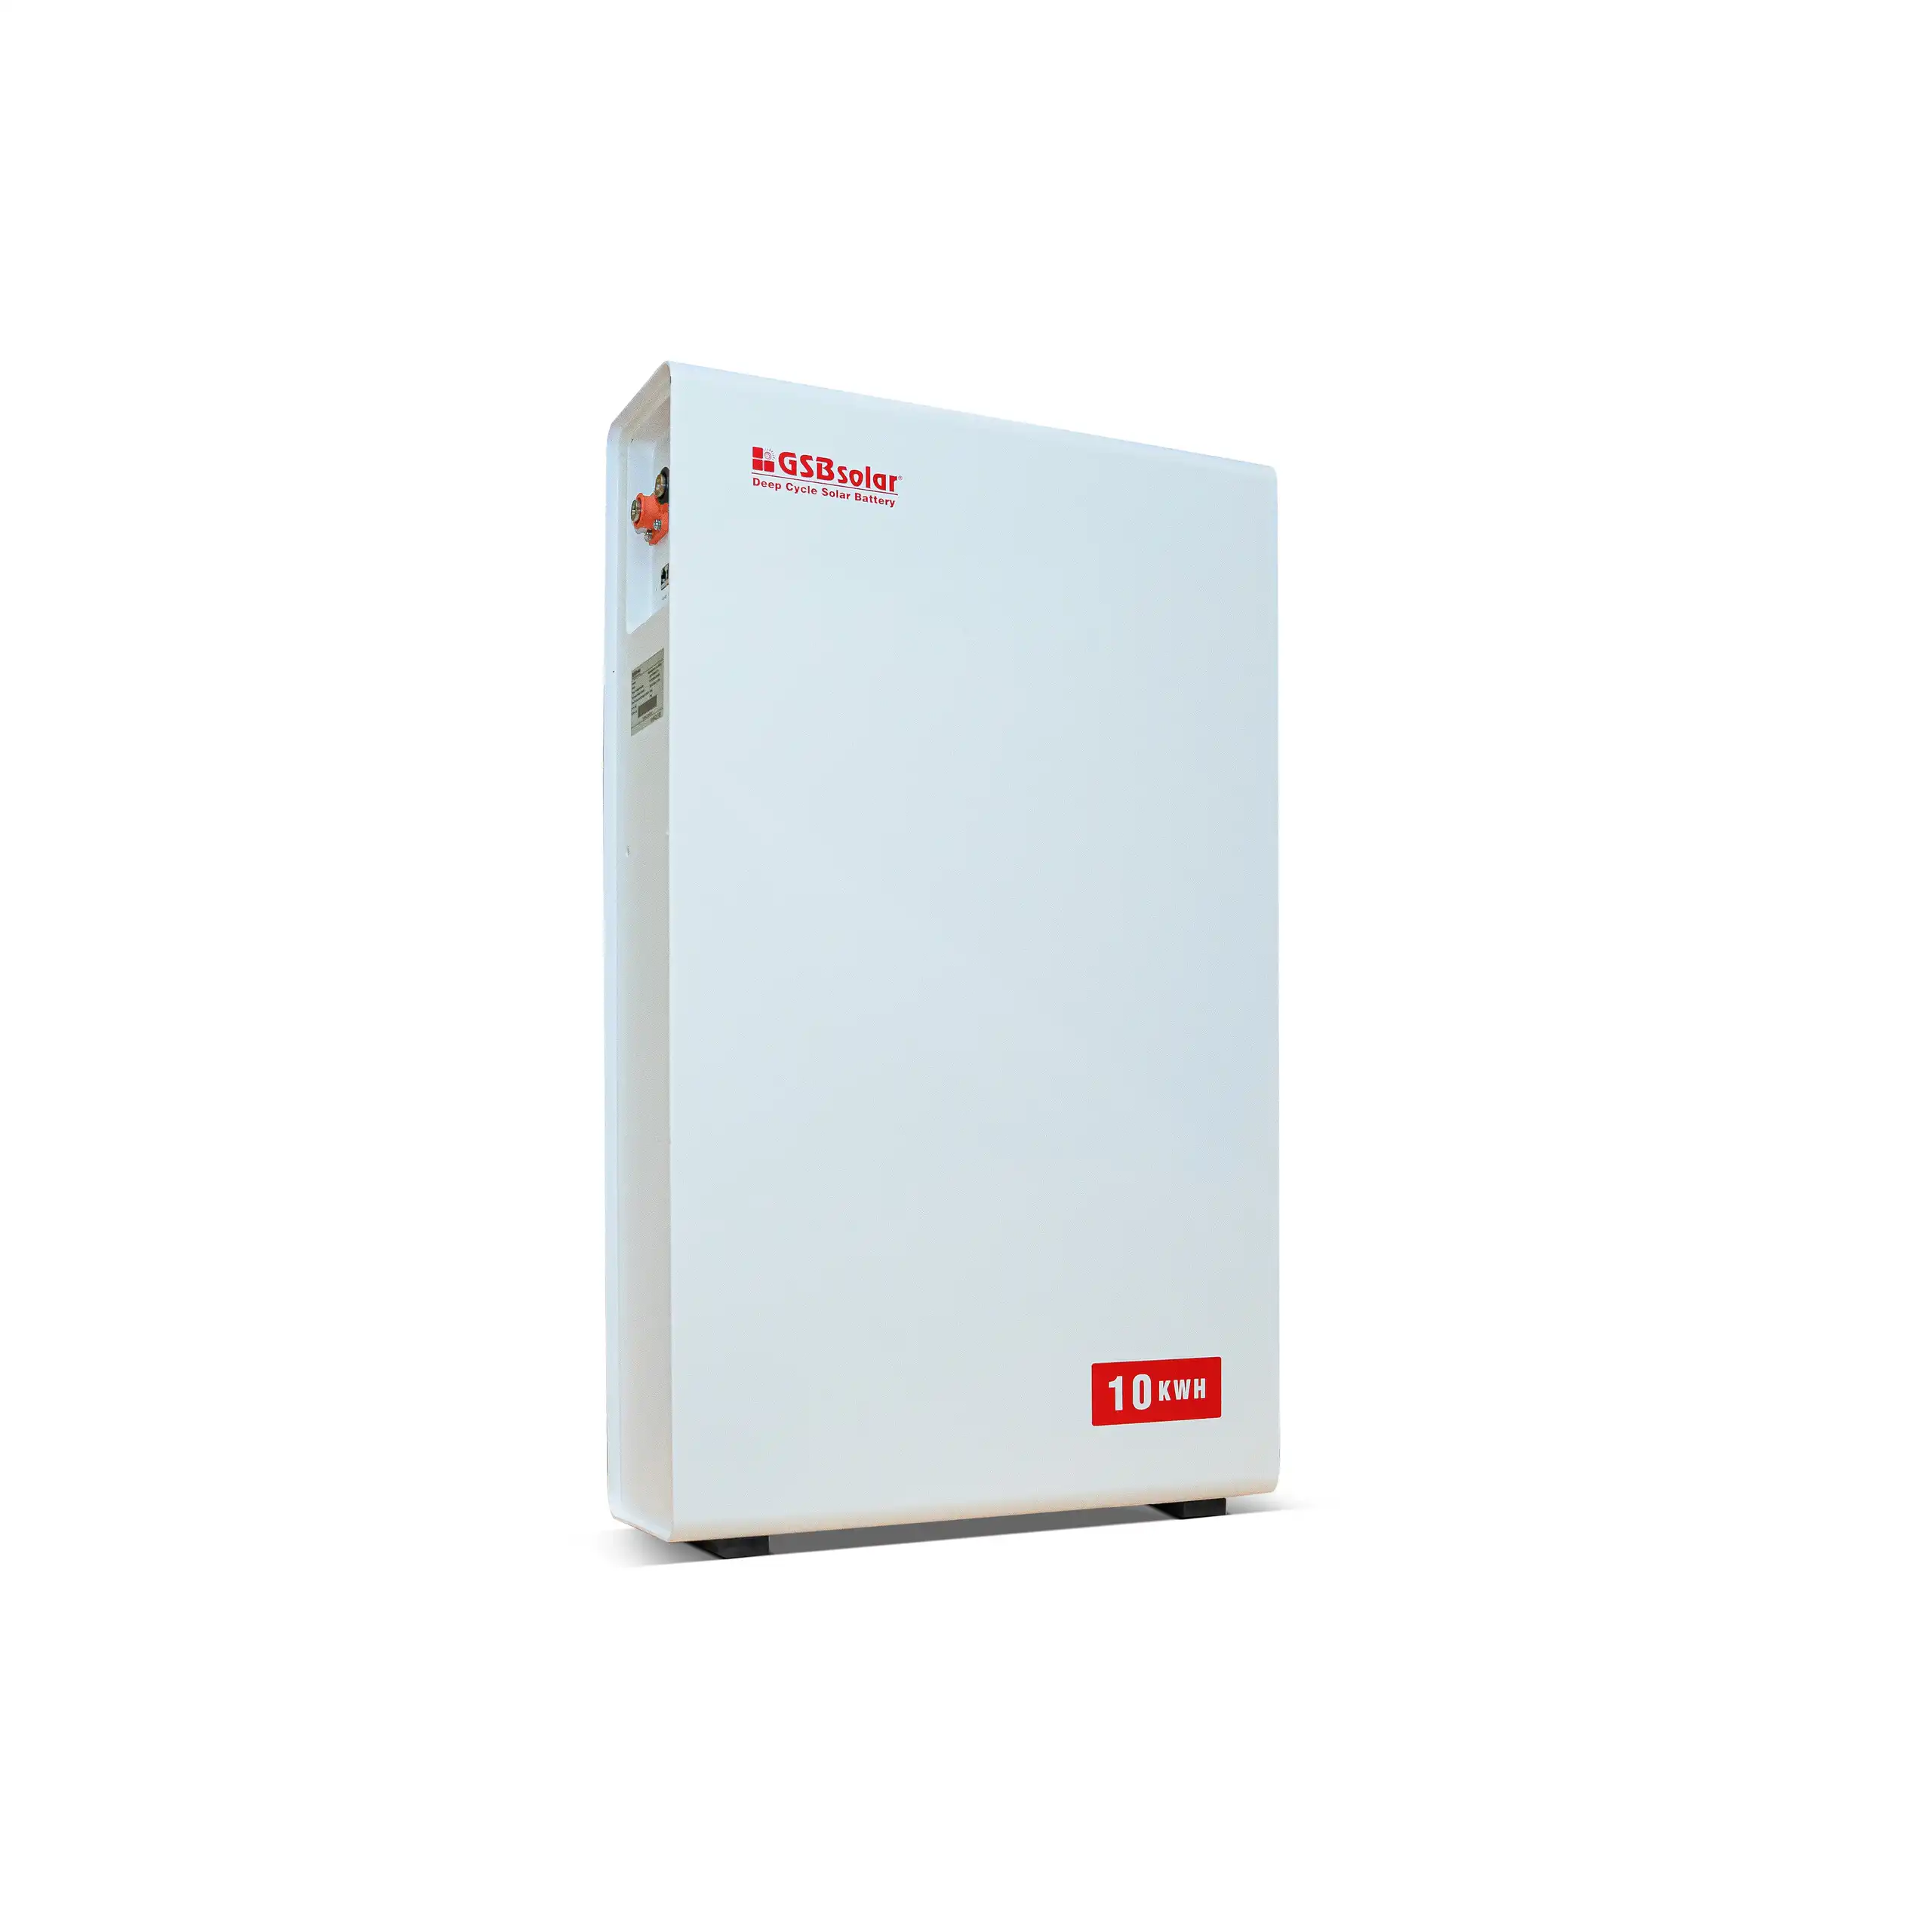
- Lithium Battery
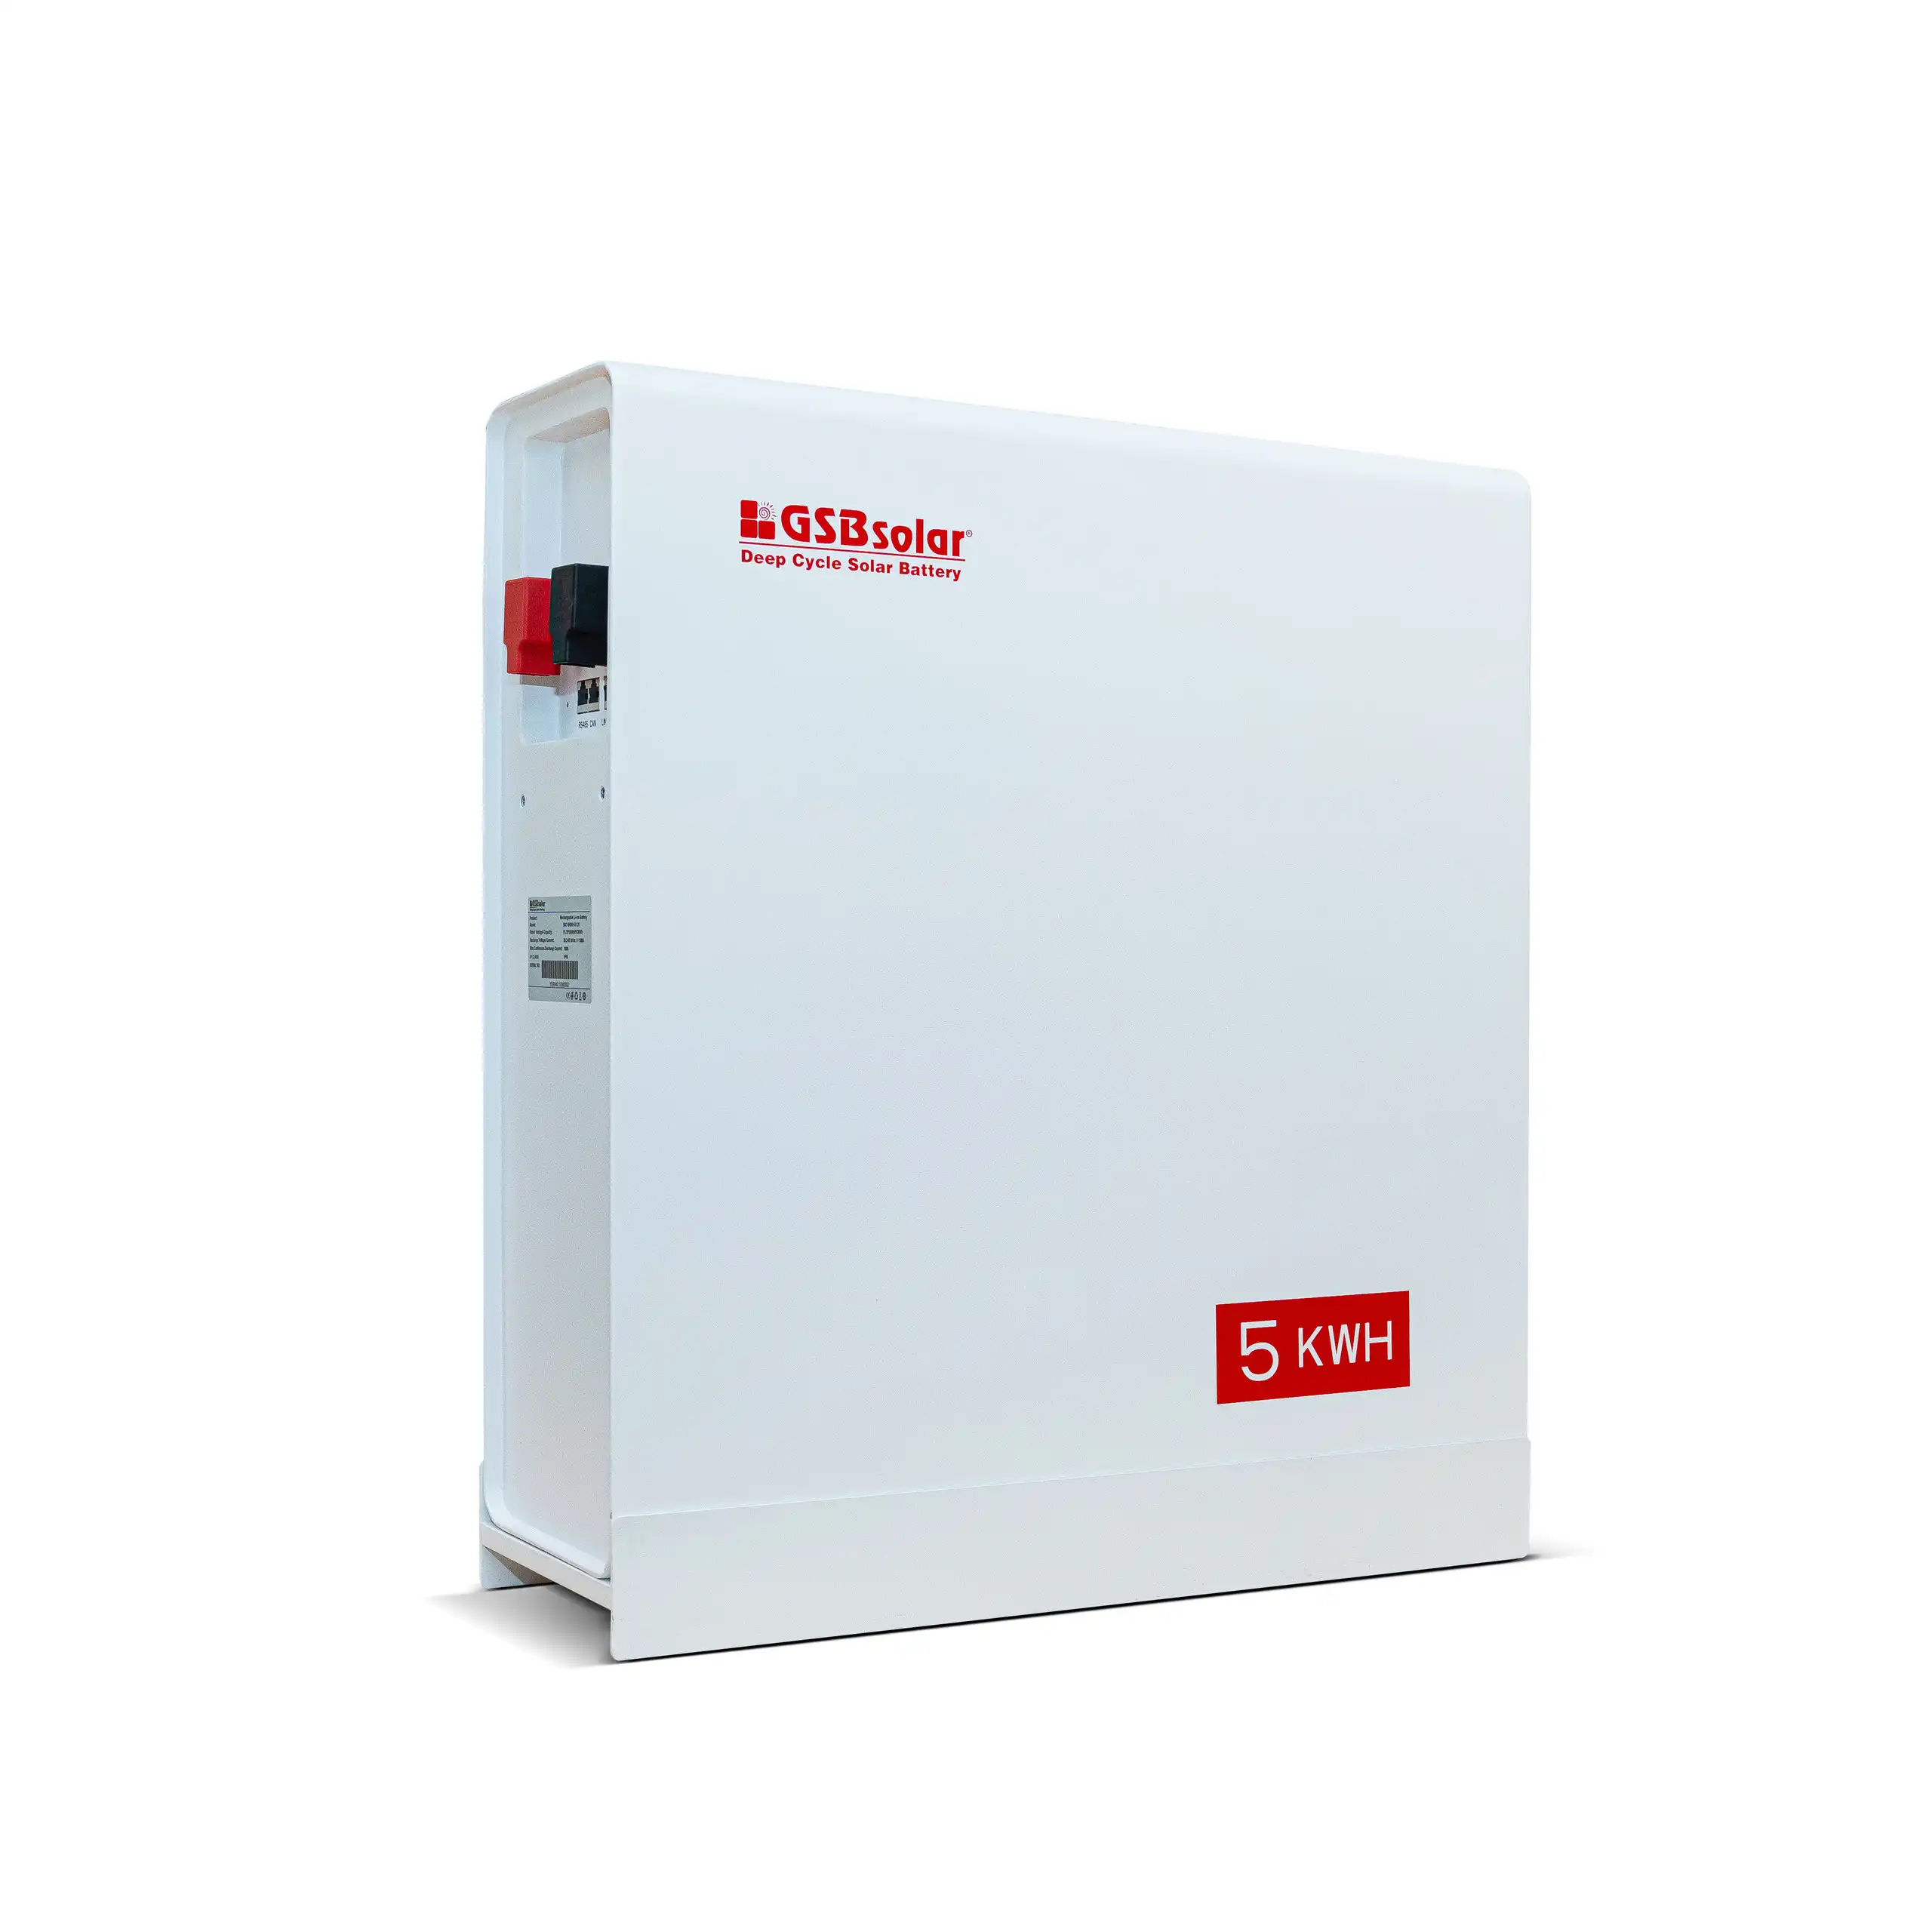
GSB SOLAR LITHIUM BATTERIES
- Gel Battery
- Solar Street Lights
- Pump Inverter
Buying a Solar Light Street Light system is not simply a matter of choosing the brightest lamp. A good purchase begins with the road, the climate, and the people using the space at night. Solar lighting engineer Dr. Steven J. Strong puts it clearly: “A reliable solar system starts with the site, not the sales brochure.” That principle deserves attention.
This guide introduces seven practical tips for selecting solar street lights with greater confidence. It considers panel size, battery chemistry, LED efficiency, lighting coverage, pole height, weather resistance, and maintenance access. Imagine a rural lane after three cloudy days. A small battery may leave the road dim before dawn. Imagine a coastal walkway. Salt air can attack weak metal housings and exposed connectors. Details matter.
Look beyond impressive wattage claims. Check the usable lighting output, battery capacity, charging performance, and rated operating temperature. Ask whether the product includes a genuine warranty and clear technical documentation. A trustworthy supplier should explain expected runtime under poor sunlight, not promise perfect performance every night. That promise sounds attractive, but reality is less tidy.
The best choice may not be the cheapest unit. It may also not be the most powerful one. Site measurements, local weather records, pedestrian movement, and installation skills should shape the decision. Some buyers overlook shadows from trees or nearby buildings. That mistake can reduce charging efficiency for years. Careful planning prevents expensive replacement work and supports safer, more consistent public lighting.
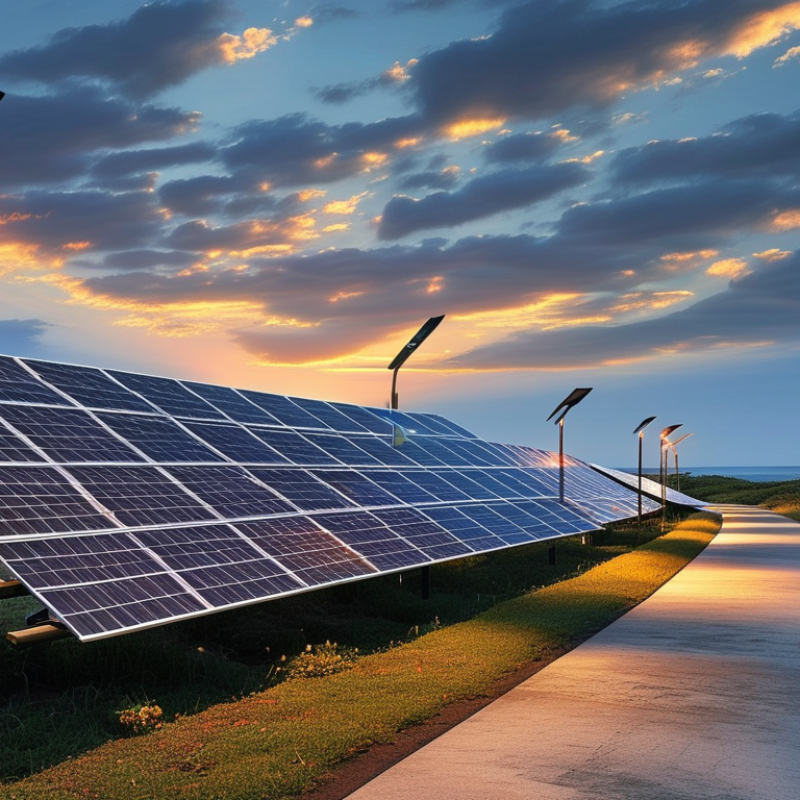
7 Tips for Buying Solar Street Lights
Define Your Lighting Needs and Site Conditions
Before buying solar street lights, define what the area must illuminate. I have learned that “bright enough” is not a reliable specification. Walk the site after sunset and mark entrances, crossings, curves, steps, and dark corners. Record the road width, pole spacing, mounting height, and expected traffic. A narrow pedestrian path needs different optics from a public road.
Measure the required lighting level with a professional plan when possible. Local lighting requirements may specify brightness, uniformity, glare control, and pole placement. Ask for a photometric layout, not only a lumen figure. Lumens alone can hide uneven coverage. For security areas, consider motion-based dimming, but confirm that sudden brightness changes will not disturb nearby homes.
Site conditions can decide whether the system succeeds. Check daily sunlight, seasonal shadows, rooflines, trees, and nearby buildings. A panel shaded at 3 p.m. may reduce overnight performance. Examine soil strength, wind exposure, drainage, and access for maintenance. Battery capacity should reflect winter temperatures and the required backup nights. My first estimate was too optimistic.
Request tested data for battery life, charging performance, waterproofing, and wind resistance. Review installation records from similar climates. Ask how failures are diagnosed and how replacement parts are handled. Leave room for uncertainty. Weather is rarely cooperative.
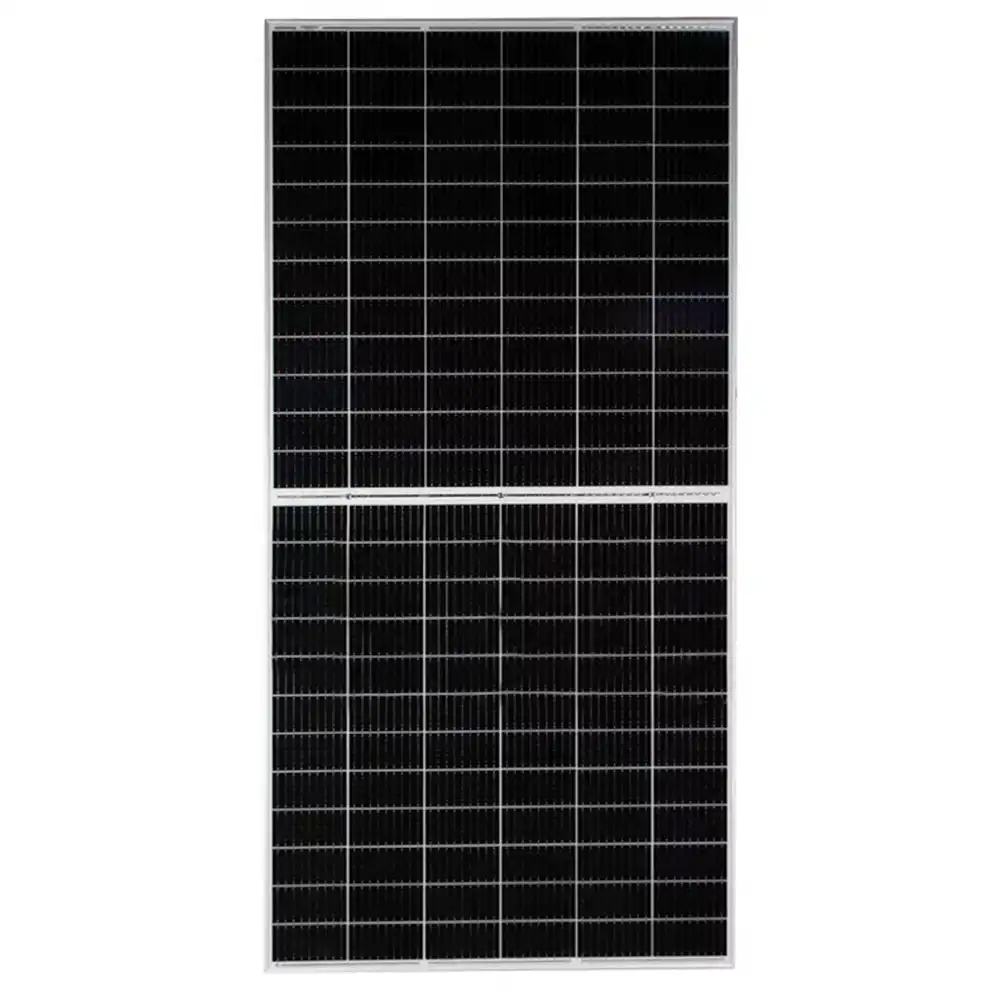
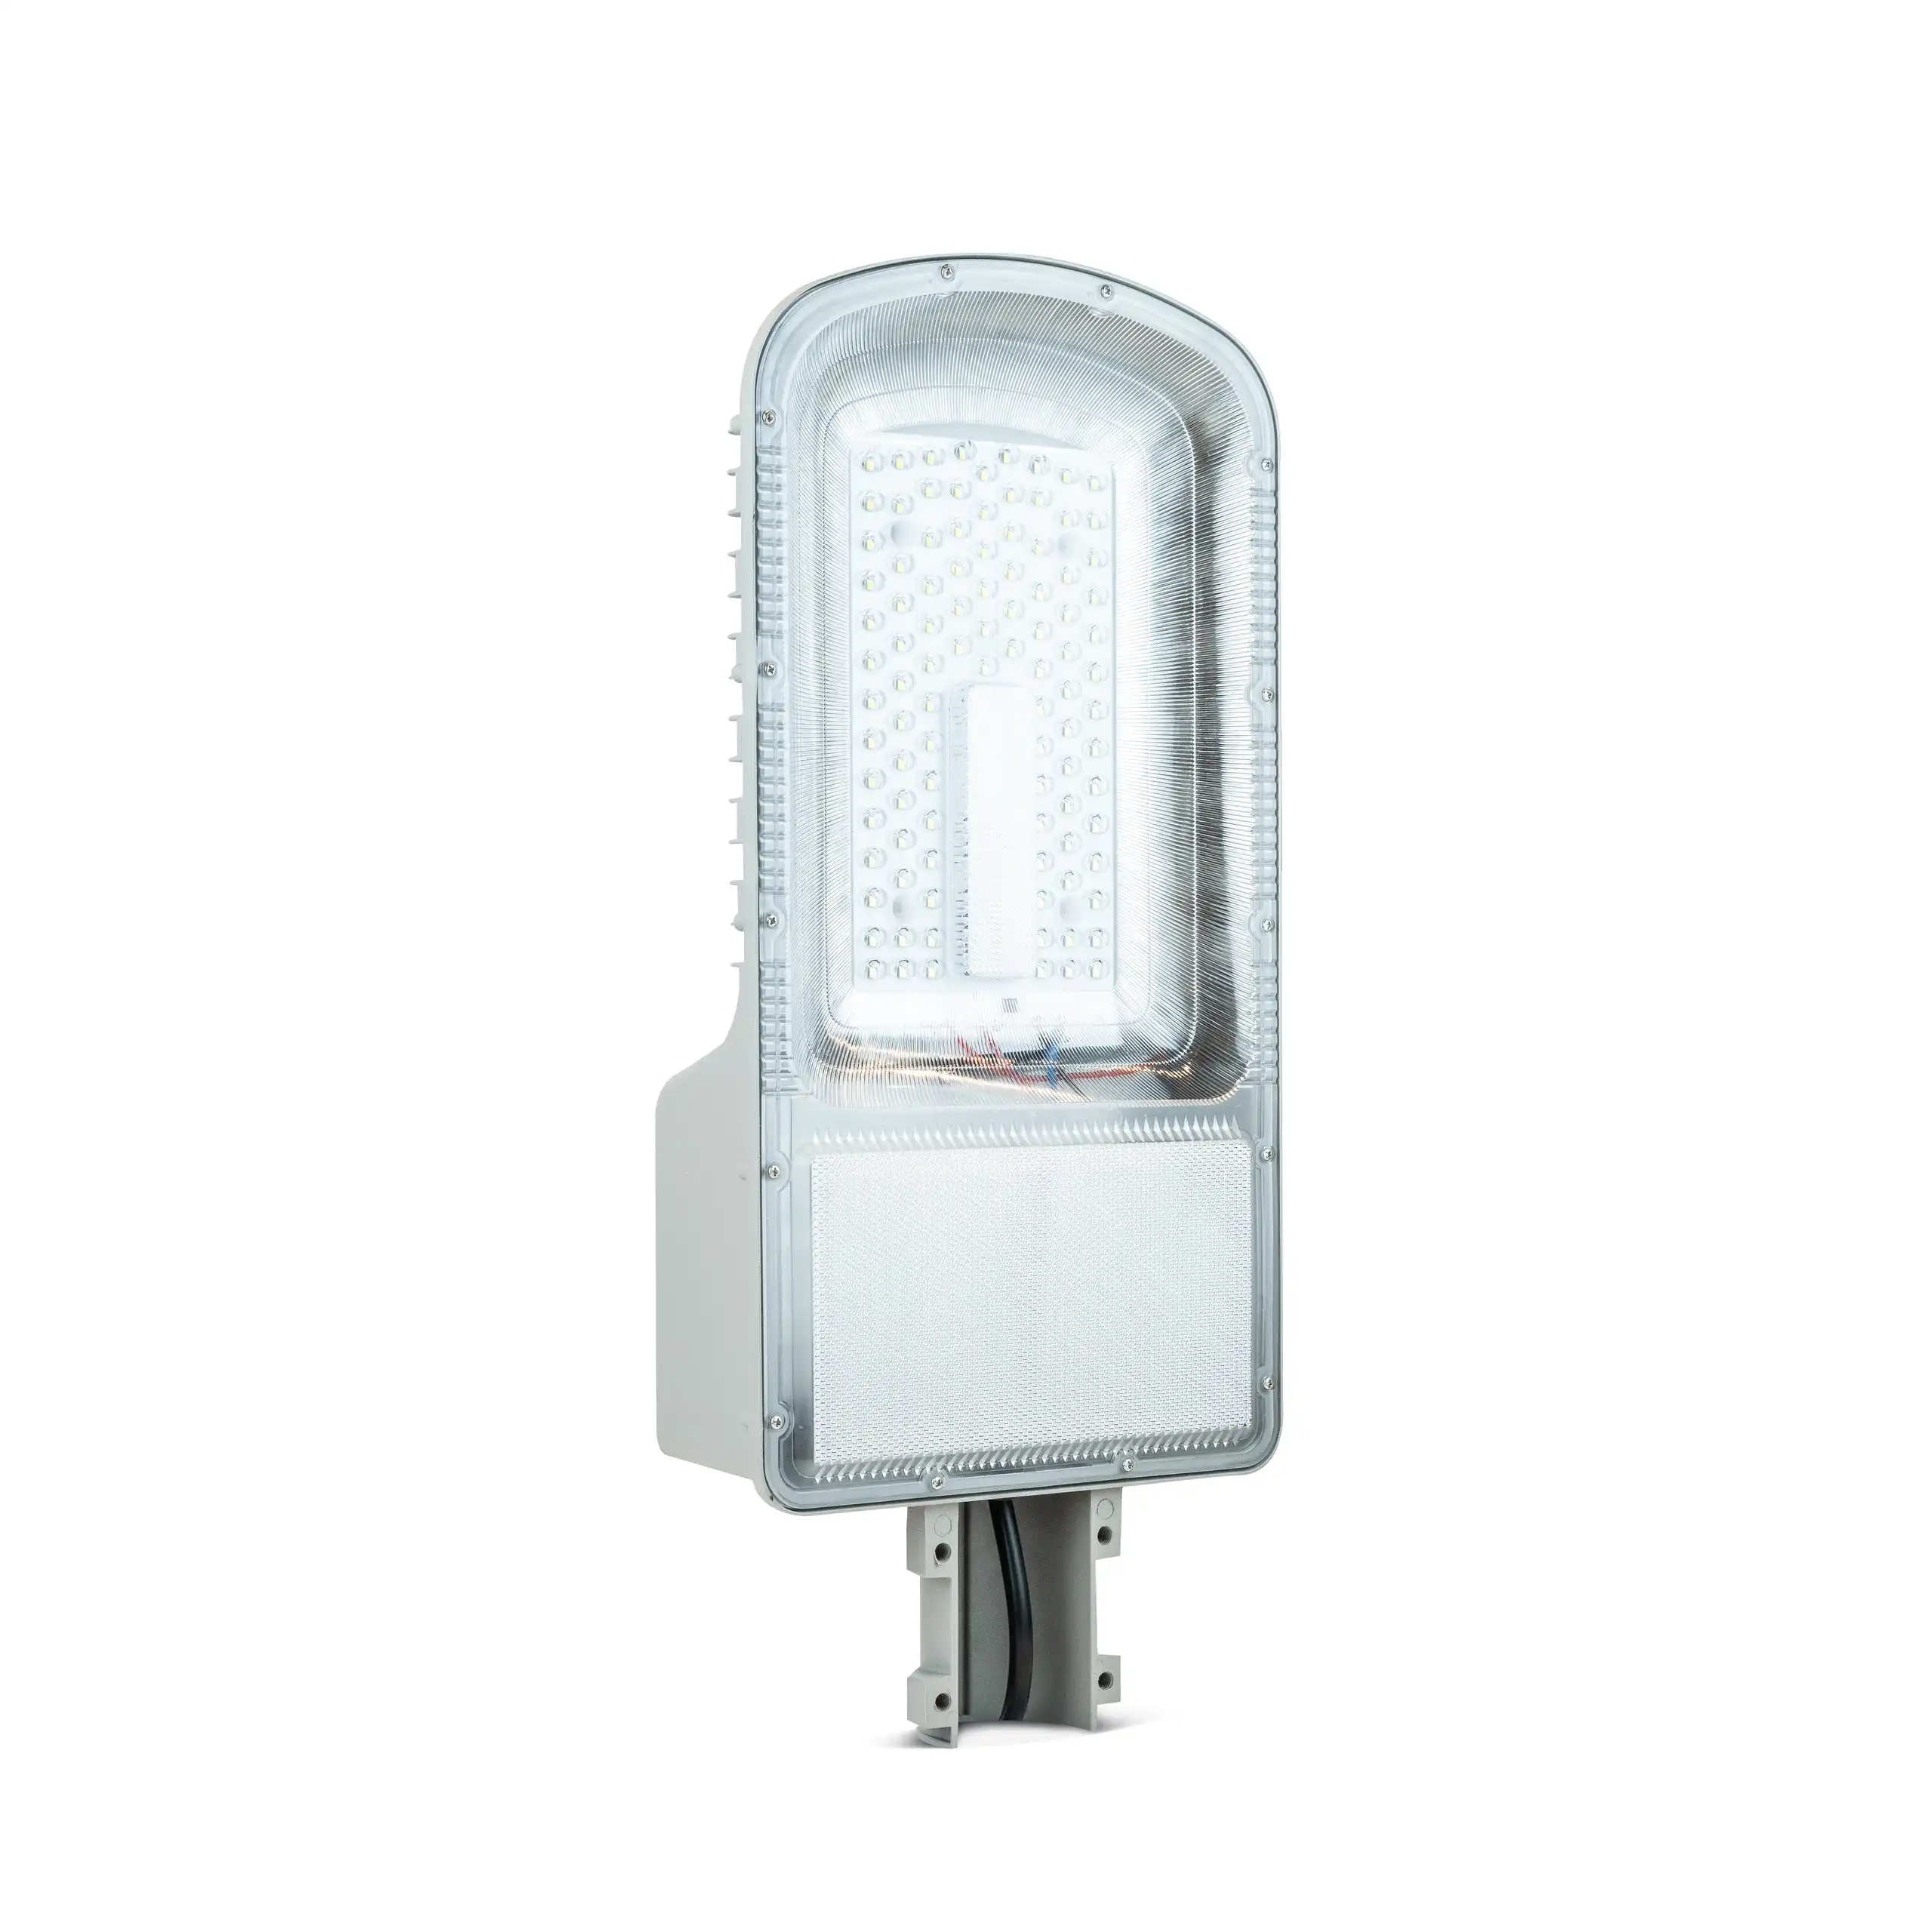
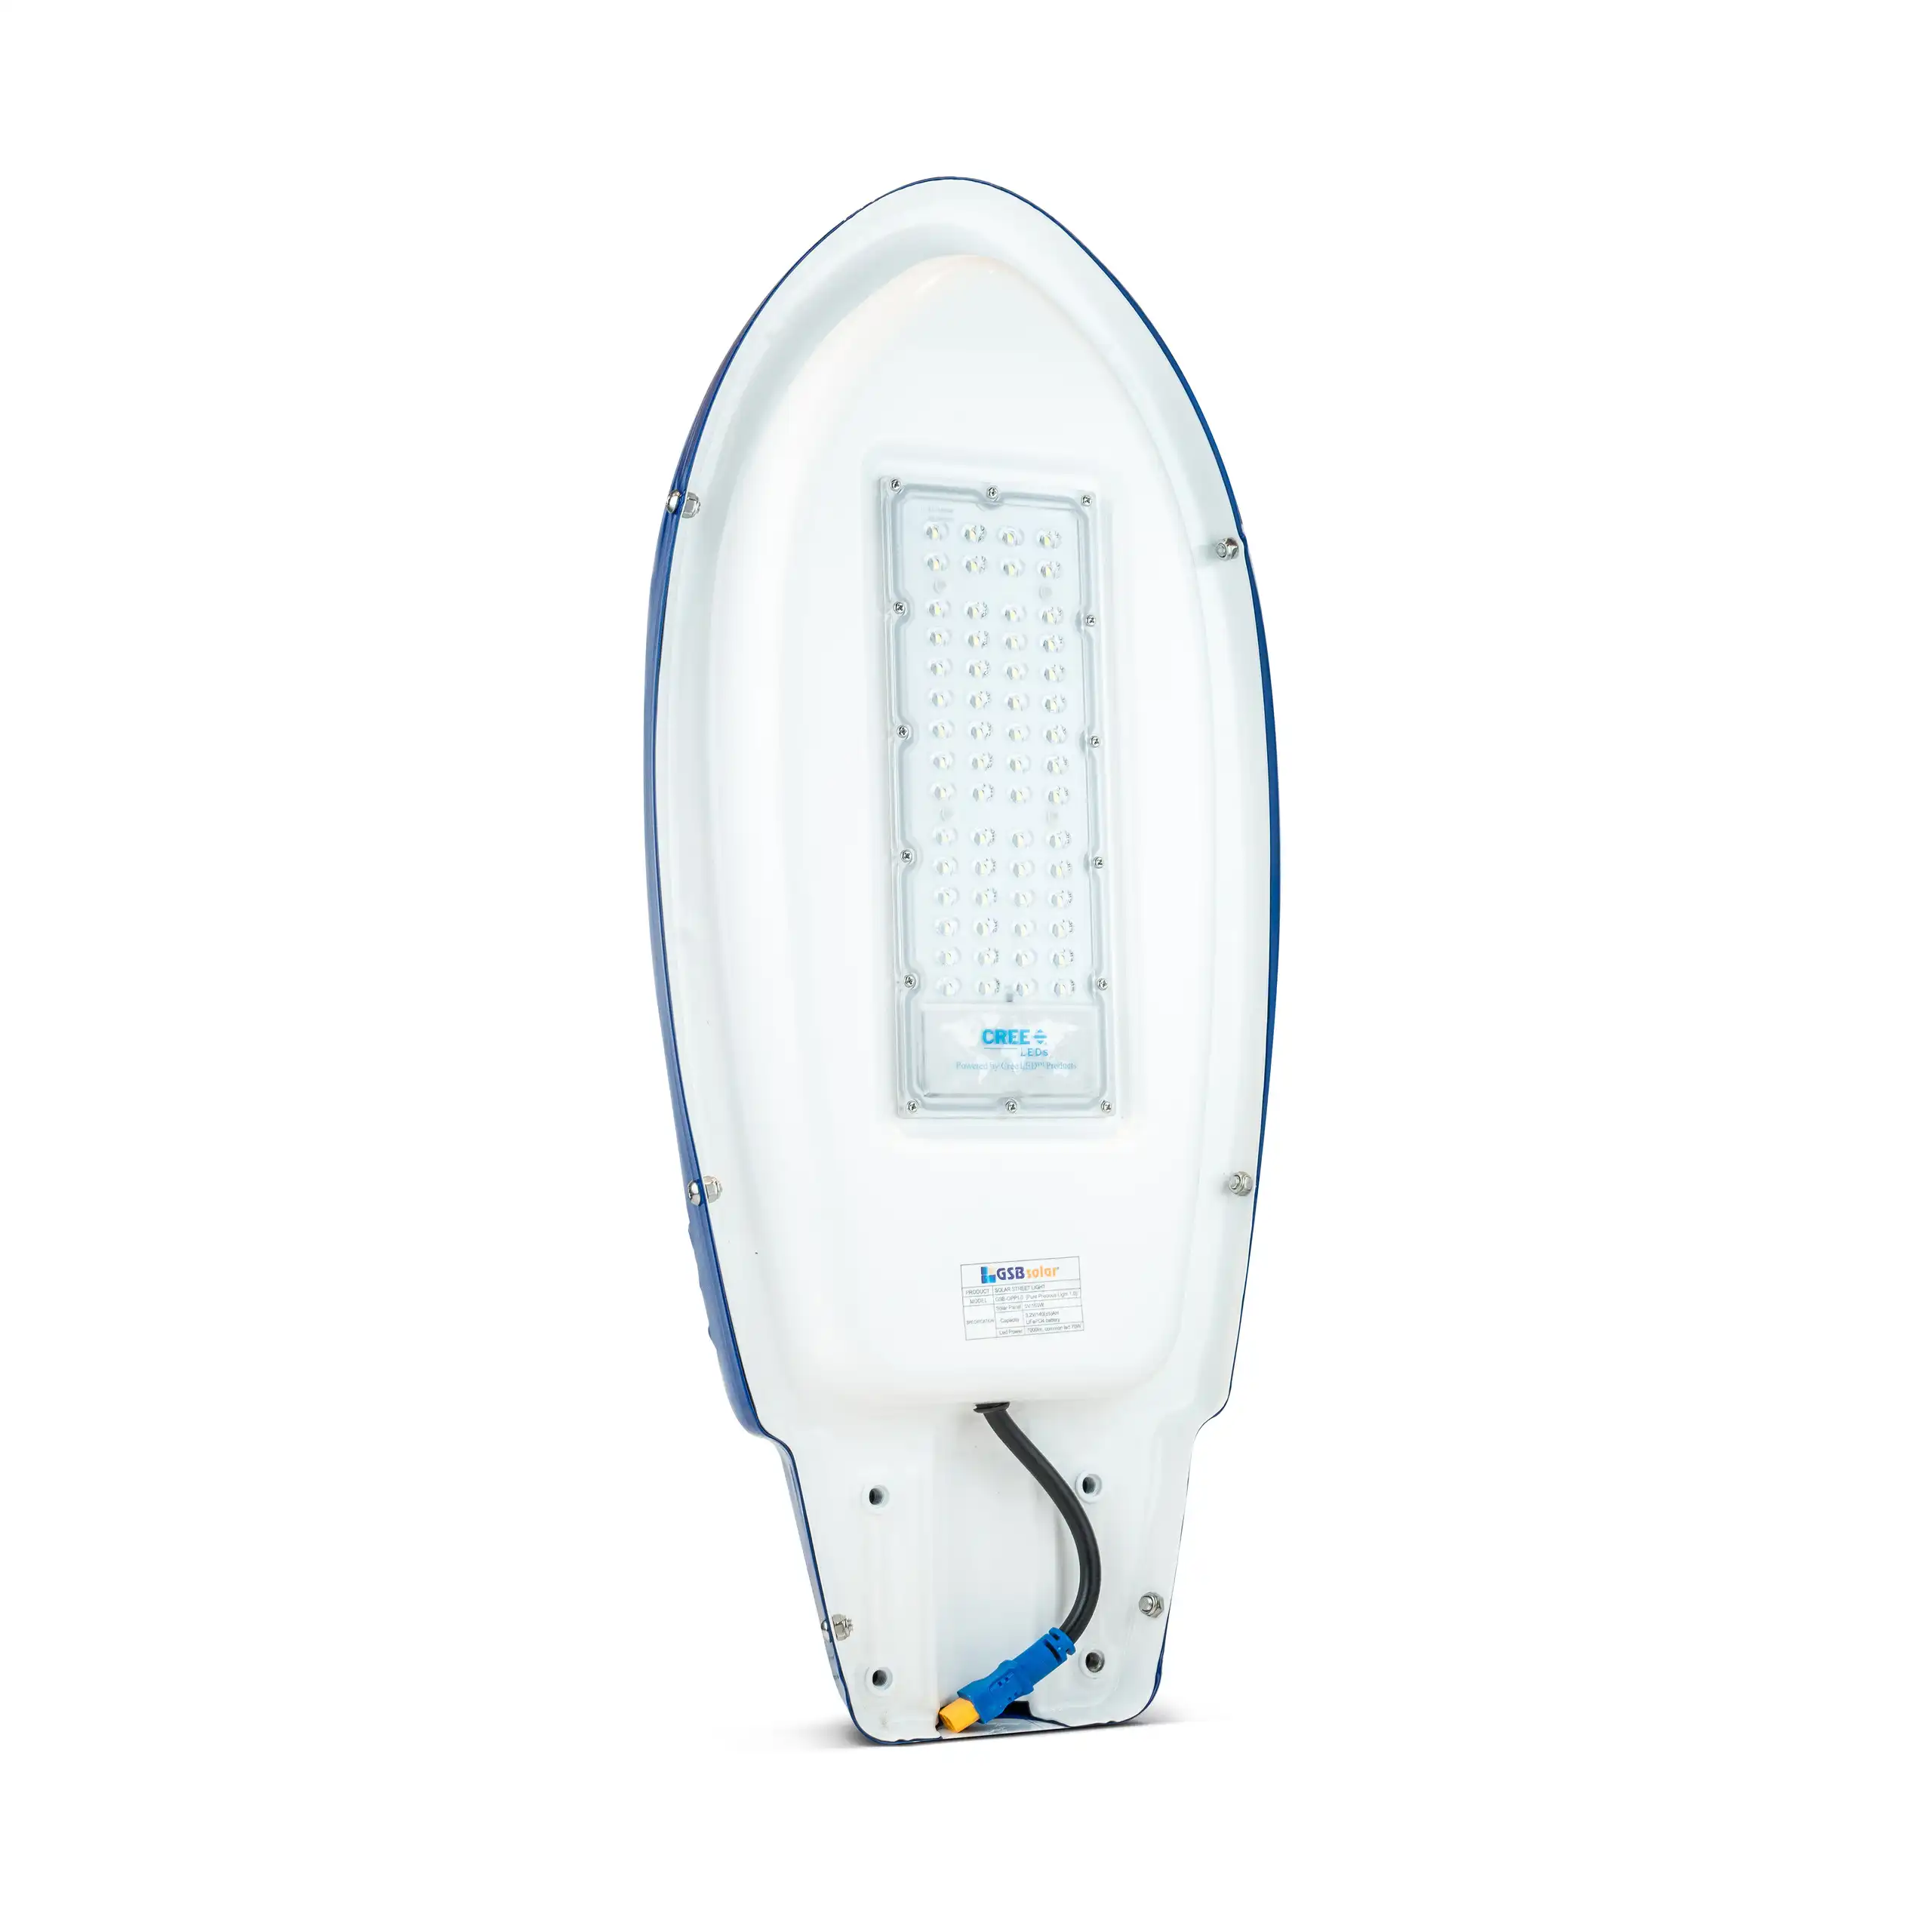
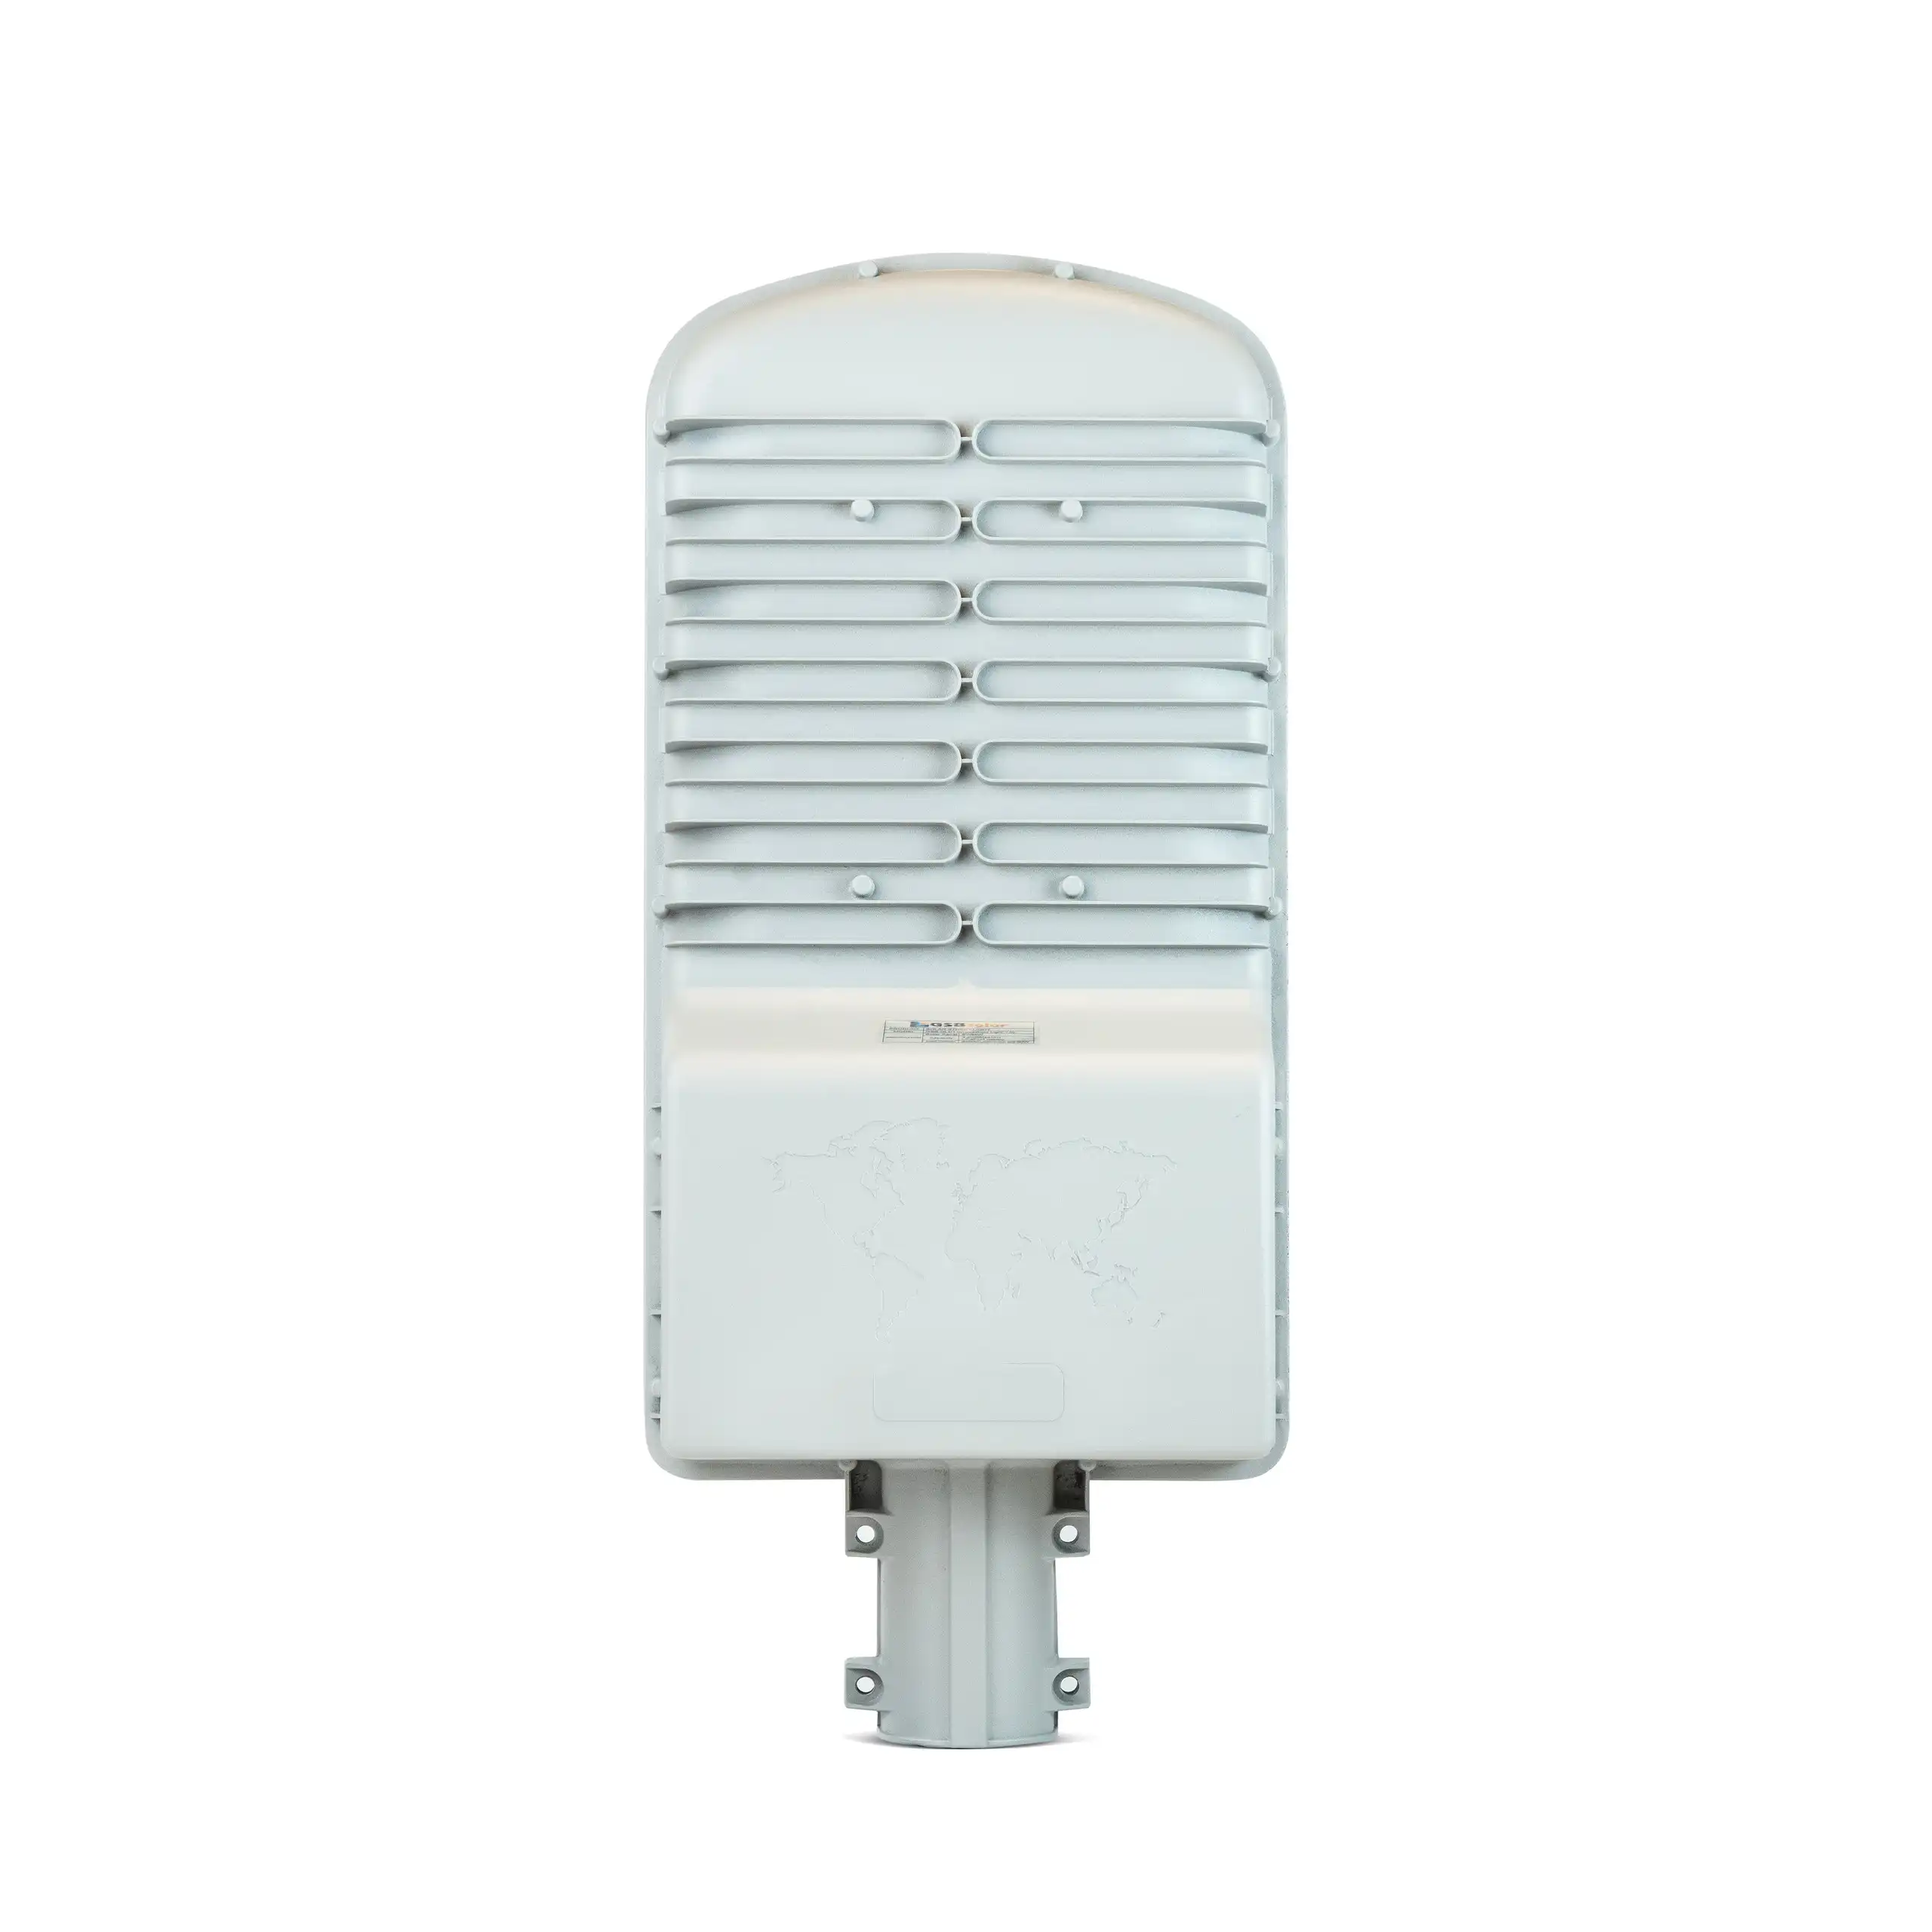
A solar street light is a system, not simply a panel and lamp. Compare the LED module, optics, photovoltaic panel, battery, controller, pole, and enclosure together. Look beyond lumens. A narrow beam may create bright pavement but leave dark sidewalks. Ask for LM-79 photometric reports and a complete IES file. These documents reveal actual distribution, wattage, and measured output.
Battery quality often decides real performance. BloombergNEF’s 2023 Lithium-Ion Battery Price Survey reported an average pack price of 139 dollars per kWh, down 14% from 2022. Lower prices do not prove longer service life. Request chemistry details, usable capacity, operating temperature, and cycle-test conditions. Lithium iron phosphate can suit hot outdoor projects, but poor thermal design still causes failures. Numbers can mislead.
Panel size should match local winter radiation, not an annual average. Check the manufacturer’s energy model using the site’s worst solar month and required autonomy. A controller with MPPT can improve harvesting during weak sunlight, yet its efficiency and protection ratings matter. Choose outdoor equipment tested against dust and water under IEC 60529, then verify the luminaire against IEC 60598 requirements. DOE’s 2023 Solid-State Lighting R&D Opportunities report discusses 200-lumen-per-watt-class efficacy as a development benchmark. Field results may be lower. Weather changes everything. Examine five-minute operating data from a comparable installation before approving the purchase.
7 Tips for Buying Solar Street Lights
Choose the battery before admiring the brightness. Lithium iron phosphate batteries usually offer long cycle life and safer thermal performance than older chemistries. Request tested capacity at the local operating temperature, not only the advertised rating. Size for at least three rainy nights. That margin may feel excessive, but cloudy weeks expose weak systems. Check the battery management system, enclosure rating, replacement access, and warranty terms. A locked cabinet and clear service record matter in dusty streets.
Match the solar panel to the battery’s daily energy demand. Include LED output, controller losses, seasonal sunlight, and charging losses. The IEA PVPS Trends 2024 report recorded about 447 GW of new solar capacity in 2023, showing strong industry scale, but panel quality still varies. Ask for the panel’s temperature coefficient and low-light performance. A smaller panel can disappoint during winter. Use local solar data, not a seller’s global average.
Lighting capacity should follow road function, mounting height, and spacing. More watts do not automatically create safer illumination. The U.S. Department of Energy reports that LED lighting can use at least 75% less energy than incandescent lighting, supporting efficient designs. Request photometric files and a maintained illuminance calculation. Check uniformity near intersections and pedestrian crossings. Also inspect motion dimming settings, charging indicators, and surge protection. I have seen projects over-specify brightness while ignoring battery recovery. That mistake is expensive. (Sources: IEA PVPS Trends 2024; U.S. Department of Energy, LED Lighting.)
7 Tips for Buying Solar Street Lights
Evaluate the installation site before judging a lamp’s advertised brightness. Walk the road at noon and after sunset. Check shade from trees, buildings, and seasonal foliage. A panel under afternoon shadow may collect too little energy. Measure pole spacing, road width, mounting height, and drainage. These details affect light distribution and foundation design. Ask for photometric data, not vague claims about wide coverage. A qualified installer should calculate wind load and soil stability. Poor anchoring can turn a strong fixture into a safety risk.
Maintenance should be practical and scheduled. Inspect panels after dust storms, bird activity, or heavy pollen. Batteries need temperature-appropriate protection and accessible replacement points. Keep records of charging performance, night runtime, and dimming behavior. It sounds tedious. It prevents guesswork. Use sealed connectors and corrosion-resistant hardware near coasts or salted roads. Confirm whether technicians can safely reach the fixture. I have seen projects struggle because battery replacement required expensive road access. The cheapest installation is not always the cheapest system.
Weather resistance needs evidence. Check tested ingress protection, impact resistance, operating temperature, and wind-rating documents. Rain is only one challenge. Freezing nights, extreme heat, hail, humidity, and strong gusts can expose weak seals. Choose drainage and ventilation that limit condensation. Review local weather records instead of generic specifications. Panel tilt can change after storms. Recheck fasteners during the first maintenance visit. No design is perfect, so allow room for inspection and honest adjustments.
Practical procurement priority scores for evaluating installation, maintenance, performance, and weather resistance.
The scores use a 1–10 evaluation scale, where 10 indicates a higher purchasing priority. Installation simplicity, battery autonomy, maintenance access, and weather resistance should be checked alongside lighting performance and total ownership cost.
Tip 1: Verify Quality Standards
Ask for current test reports, not only printed certificates. Check whether the lamp follows relevant IEC standards for outdoor luminaires and electrical safety. Review the solar panel, battery, controller, and enclosure separately. An IP65 rating helps protect against dust and rain, while a suitable IK rating supports impact resistance. Request a sample unit and inspect its wiring, seals, pole bracket, and charging display. Small details often reveal manufacturing discipline.
Tip 2: Read the Warranty Carefully
A long warranty sounds reassuring, but its conditions matter more. Confirm coverage for the battery, LED module, controller, and solar panel. Check whether labor, replacement shipping, and installation are included. Ask how performance is measured after several years. Some warranties exclude damage from storms, poor installation, or deep battery discharge. I once focused too much on the warranty length and missed its narrow battery coverage. That was a costly lesson.
Tip 3: Calculate the Total Cost
Compare more than the purchase price. Include transport, foundations, wiring changes, installation equipment, inspections, and future battery replacement. Ask for expected lighting output during cloudy periods. Request maintenance schedules and realistic service costs. A cheaper light may require earlier battery changes or more frequent cleaning. Calculate the cost per operating year, then compare it with the required brightness and coverage. Estimates can still be imperfect. Local weather, dust, and installation quality may change the result.
| Tip | What to Verify | Recommended / Recognized Benchmark | Why It Matters | Buyer Checklist |
|---|---|---|---|---|
| 1 | Confirm lighting performance | Check measured LED efficacy, lumen output, beam distribution, color temperature, and photometric files. For many outdoor road applications, 100–160 lm/W is a practical LED efficacy range, but the required illuminance depends on road classification and spacing. | A high wattage or lumen claim does not guarantee adequate illumination on the road surface. Verified photometry helps prevent dark spots and excessive glare. | Request an LM-79 or equivalent performance report, an IES/LDT photometric file, mounting-height assumptions, pole spacing, and the intended lighting-class calculation. |
| 2 | Verify electrical and environmental standards | Look for applicable compliance with IEC 60598-1 and IEC 60598-2-3 for road and street lighting luminaires. Outdoor enclosures should commonly be rated at least IP65; IK08 or higher is often selected where impact resistance is important. | Recognized standards address electrical safety, ingress protection, mechanical robustness, and suitability for outdoor lighting conditions. | Obtain test reports or certificates from an accredited laboratory. Confirm that the reports apply to the offered configuration, not only to a similar product family. |
| 3 | Evaluate battery capacity and autonomy | Compare usable battery energy in Wh, battery chemistry, operating temperature range, depth of discharge, and expected cycle life. Lithium iron phosphate batteries commonly offer about 2,000–5,000 cycles under specified test conditions. A design target of 2–3 consecutive nights of autonomy is common, but the required value depends on local solar conditions and lighting schedules. | Nominal amp-hours alone can be misleading. Usable energy and local weather determine whether the light remains operational during cloudy periods. | Ask for battery test data, usable Wh, low-temperature protection, replacement procedure, and an autonomy calculation based on local solar irradiation and winter conditions. |
| 4 | Inspect solar-panel sizing and system controls | Verify panel rated power, controller type, charging efficiency, maximum-power-point tracking where specified, dusk-to-dawn control, dimming schedules, and protection against overcharge, over-discharge, and reverse polarity. | The panel and controller must restore the battery during the available daylight hours while supporting the required nightly load. | Request a full energy-balance calculation: daily load in Wh, panel generation, controller losses, battery losses, seasonal margin, and programmed dimming profile. |
| 5 | Read the warranty conditions carefully | A comprehensive warranty of 3–5 years is commonly offered for solar street-light systems, but coverage may differ for LEDs, batteries, controllers, panels, housing, labor, and shipping. | The warranty period is less useful if key components are excluded or if failure claims require costly international returns. | Confirm start date, covered parts, performance thresholds, battery capacity retention, response time, replacement responsibility, spare-parts availability, and exclusions. |
| 6 | Calculate total cost of ownership | Include equipment, freight, duties, foundations, poles, installation, commissioning, inspections, cleaning, battery replacement, spare parts, and end-of-life disposal. Use a service-life model of at least 10 years for comparison. | The lowest purchase price may become more expensive if batteries fail early, installation is difficult, or replacement parts are unavailable. | Compare 10-year cost per installed light and cost per operating night. Record all assumptions, including replacement intervals and labor rates. |
| 7 | Check installation, maintenance, and after-sales support | Assess pole compatibility, wind-load design, mounting hardware, access to the battery and controller, corrosion protection, spare-parts lead time, monitoring options, and local technical support. | A reliable design should be safe to install and service without replacing the complete luminaire when one component fails. | Request installation drawings, foundation requirements, torque specifications, maintenance instructions, fault codes, training materials, and a recommended spare-parts list. |
Note: Performance targets are general purchasing benchmarks. Final requirements should be calculated from the project location, road classification, pole geometry, local weather data, applicable regulations, and the supplier’s verified test documentation.